Installing the Secure Shell Client on Your Workstation
Overview:
You will download the SSH client from the web into a temporary location
on your workstation or local LAN. From
there you will run the installation program to install the client in the
permanent file on your workstation.
- Download the file from this URL:
http://www.cusys.edu/unixtech/HowTo_Docs/SSHSecureShellClient.exe
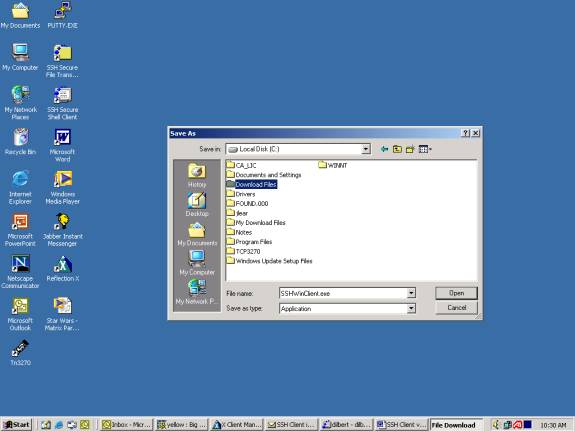
You may be prompted with this window
or may be taken directly to your directory to choose a temporary location for
the file. Click on the “Save” button.

- Where you save this download is up to you. A common place to save downloaded files is your c:\Download Files folder. Double click to drill down into the folder to which you want to save this executable.
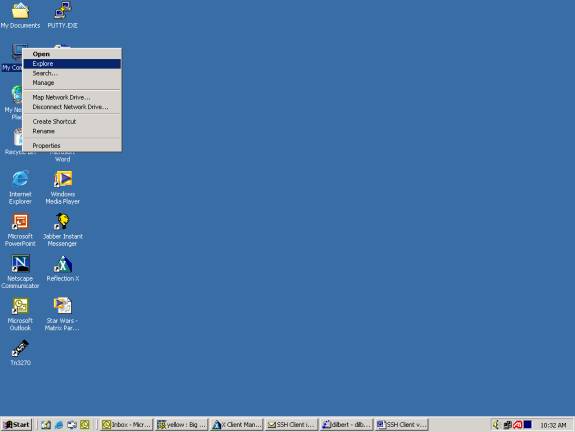
- The file will save to the folder you determined. Next right click on the “My Computer” icon on your desktop. Highlight “Explorer” and left click to open it or, if you have a Windows Explorer icon on your desktop, double-click to open it.
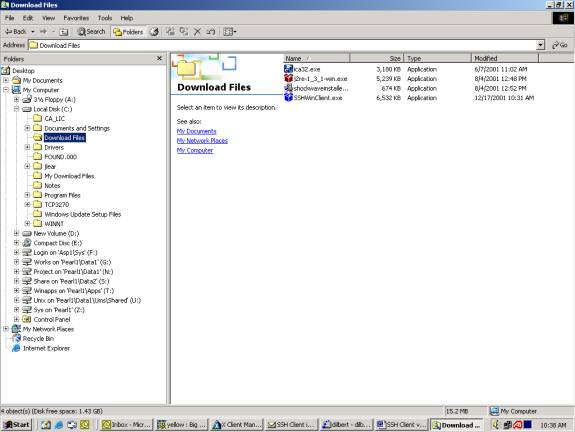
- Click on the “+” sign to expand the drive on which you stored the SSH file. Highlight the folder where you saved the file.
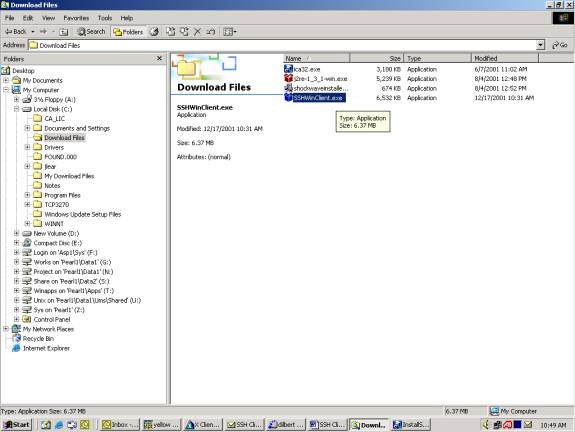
- Double click on SSHWinClient.exe…
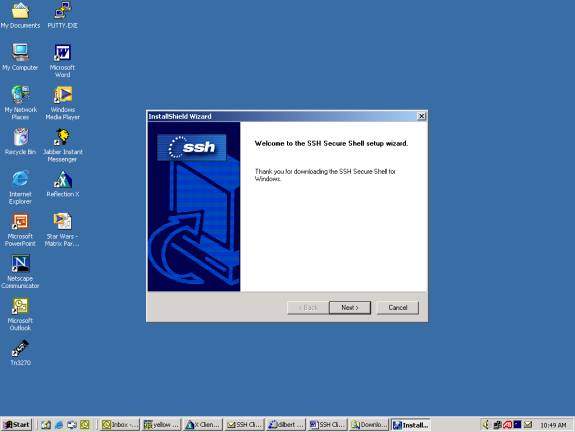
- Follow the install instructions – choose the defaults where possible. Click “Next” to continue…
- The license agreement says that you are using the software for University business and you won’t share it with anyone. Click on “Yes” to accept the license agreement…

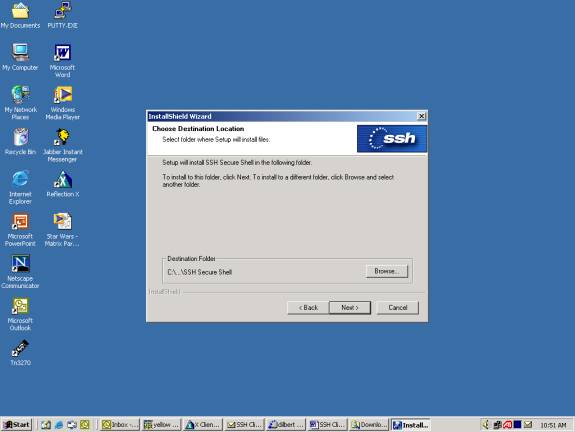
- Click “Next” to accept the location where the software will be installed…
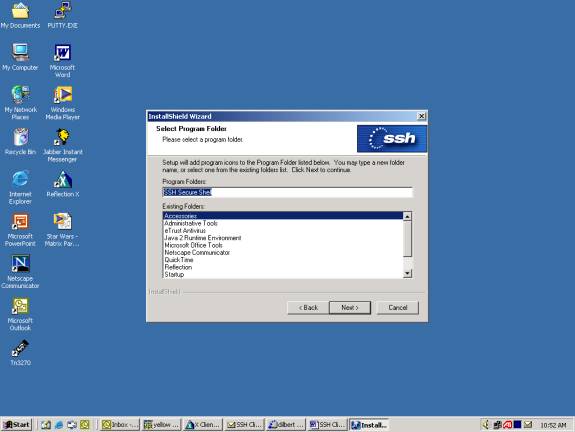
- Again, click “Next” to accept the default program folder…
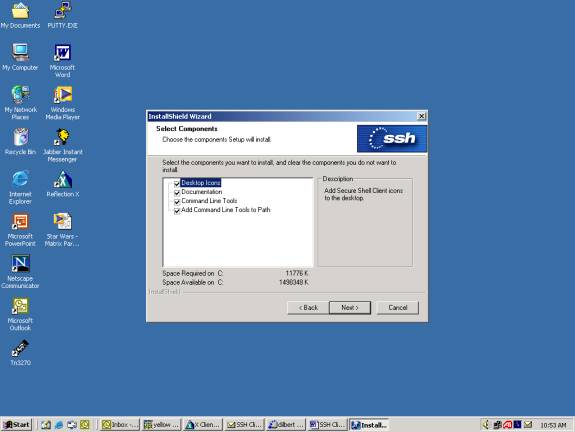
- One more time. Click on “Next” to select the default components to install…
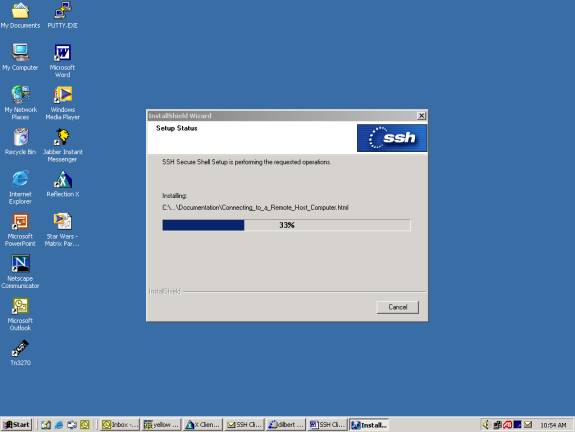
- Let the install run to completion. It’s pretty fast…
- When the install is complete, click the “Finish” button.
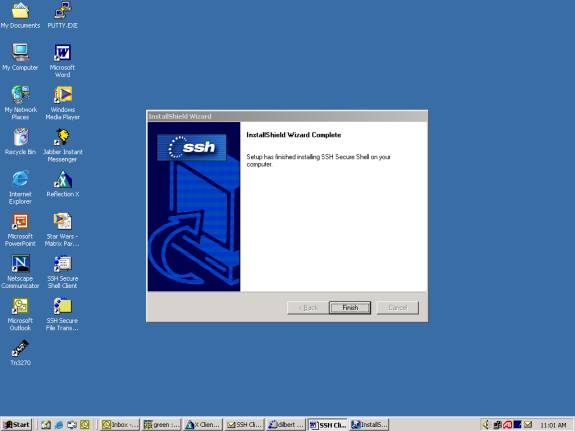
- All done. Notice the new shortcut “SSH Secure Shell Client” icon on your desktop now…